After a year of 3D printing camera rigs for aerial mapping, I would have expected to be bored. Instead, observing how the finished parts work inevitably leads me to change the models. I have designed and printed dozens of different versions of the Redstone and Titan 2 rigs which have progressively become easier to print, easier to assemble, more functional, and stronger. Combined with the unpredictability of 3D printing, this makes every day at the KAPtery a new experience.
Ease of assembly was improved with the help of Thingiverse user ver2go who got the Sketchup files from my Redstone Rig repository and added bolt holes for attaching the upper frame to the camera tray. He posted his versions of the models, and I then incorporated his idea into both the Redstone and Titan 2 rigs. This makes it much easier for anyone to assemble the kits and allows most cameras to be well balanced. He also added a hole for the tripod bolt, and I explain why I did not incorporate that idea in this article at the KAPtery.
.

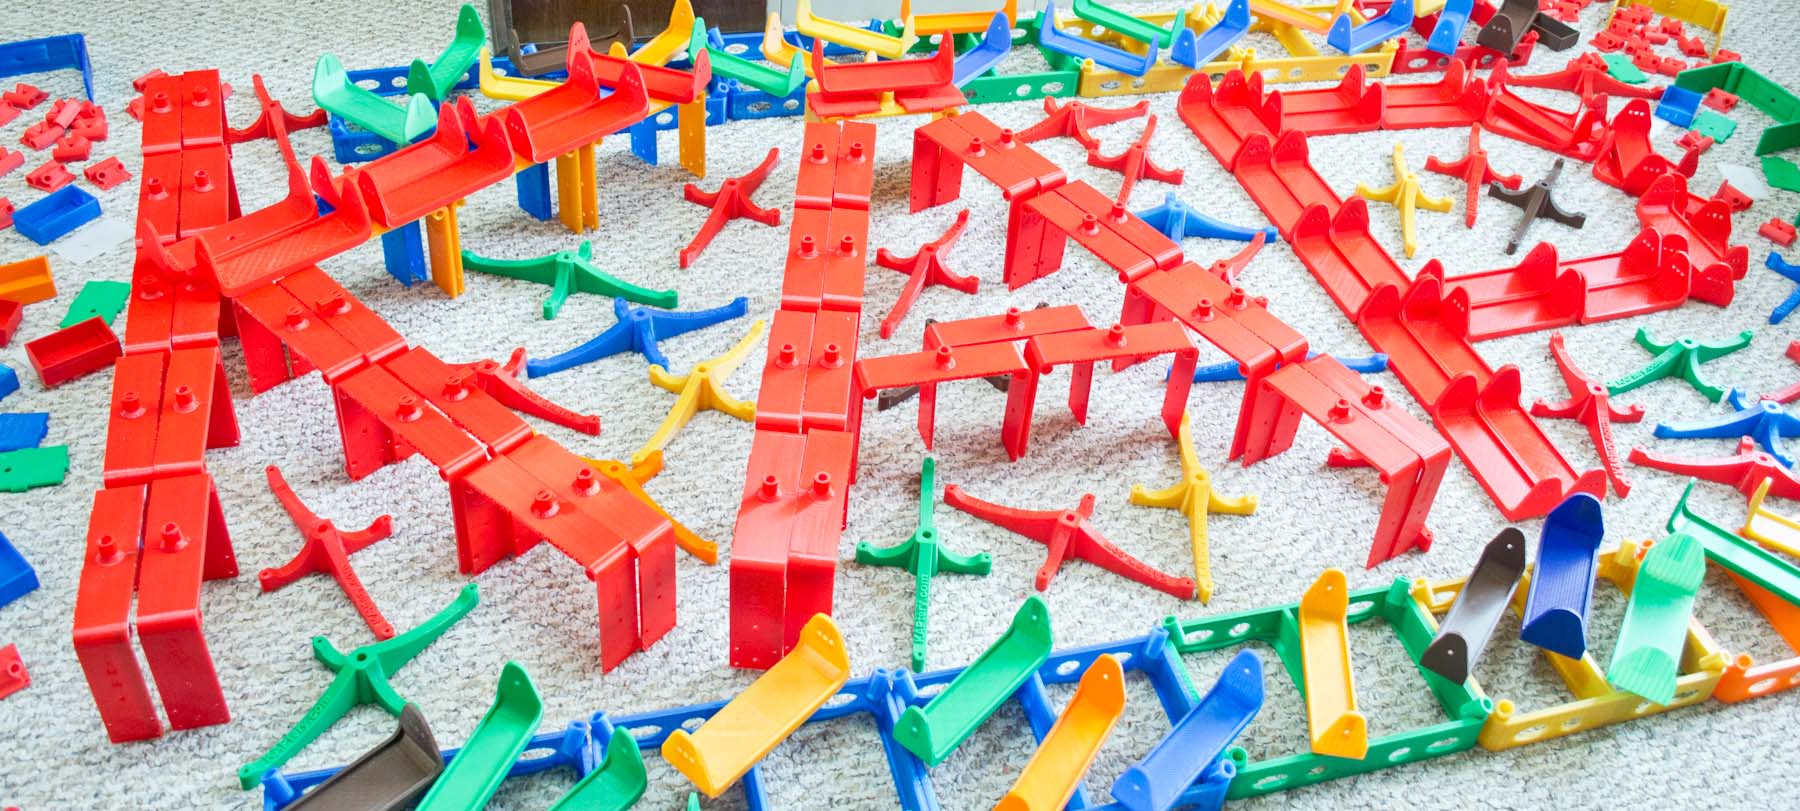
Pre-placed holes for attaching the tray to the frame (red line) are now part of all KAPtery kits.
.
A few months ago I standardized the tray lengths on the Redstone and Titan 2 rigs. Now a Redstone single camera tray will fit on the upper frame of a Titan 2 Rig, and I include a Redstone tray with every Titan 2 Rig Kit. This is a handy improvement for Titan 2 Rig users who get the functionality of the lightweight single-camera Redstone Rig when they buy a dual-camera Titan 2 Rig. I describe why it took me so long to make this change here.
.

The Titan 2 Rig frame now fits the single camera trays from the Redstone Rig (left) as well as the large dual camera tray (right).
.
Assembly of my Picavet and pendulum kits has required messy gluing, so I found different materials for the shafts which don’t need reinforcement. Assembling either of these kits still takes an hour or two and requires a little bit of gluing, but it’s much easier now. The new fiberglass rods (Picavet) or tubes (pendulum) are slightly larger diameter, so the attachment bracket on the Redstone and Titan 2 rig frames have been enlarged a bit. There is more detail about this change in this article.
.

The Makerbot Replicator 1 has not missed a day since January 25. It has averaged 9.8 hours per day printing KAPtery parts.
.
These refinements are ongoing. The Makerbot 3D printer has been running every day since January 25 producing 10 different KAPtery parts. For each of those parts, the model I am printing now is different from the one I was printing in January. It seems that my new hobby is finding new features to add to these parts. Just in case all this modeling and printing was not enough to keep me interested, during the last two months a new website was developed for the KAPtery which I hope will make it easier for everyone to learn about the rigs, find files and instructions for printing your own, and buy kits or completed rig packages. Boredom is being successfully held at bay.
4 Comments
Excellent.
Reply to this comment...
Log in to comment
Great to see all this, Chris! Do you have a wiki page on the PL site where you post the designs? Thingiverse has some nice features but they exempt themselves from the open source licenses, which is kind of a bummer (and probably not legally viable).
Is this a question? Click here to post it to the Questions page.
Reply to this comment...
Log in to comment
Jeff, No I have not made a wiki page yet for these models. That will be a fun project. Thingiverse certainly has a great user interface. By default, my models there each get labelled "licensed under the Creative Commons - Attribution - Share Alike license." In addition, I add to the description of each model that it is " Published under CERN OHL." It has been suggested that multiple licenses like that allow people to choose which ever one they want. These models were all published in research notes at Public Lab (except the timer box), so maybe the CERN OHL should have precedence. But I keep updating the models at Thingiverse, so the most recent ones are only there. That's probably the best way to do it because there have been several thousand downloads of the models there. That is not obvious because every time I update a model the counter gets reset to zero.
Is this a question? Click here to post it to the Questions page.
Reply to this comment...
Log in to comment
Multiple licensing is not a big problem, but can get a bit messy, as it's important to note the license under which other contributors add refinements. If all contributors use both, that's fine. But you could, if you like, note in the descriptions on Thingiverse that you are NOT using CC-BY-SA, and that it is only shown because Thingiverse does not enable people to choose the CERN OHL.
Another note is that if you tag your wiki page with "tool" it will show up on the tools page, which as of recently is sorted by what's been most recently updated. Hooray!
Reply to this comment...
Log in to comment
Login to comment.